Mount Everest – the highest peak on Earth and a global beacon that never fails to amaze and leave you in a stupor. Naturally, I jumped on the opportunity of getting as close as I could to one of the world’s biggest marvels and decided to embark on the 62-kilometre trek to base camp.
My family and I took on the challenge but not without having to endure the many ups and downs. We started out as a family of six, embarking on this journey together, but only two from the pack reached the final checkpoint at base camp. The Everest Base Camp (EBC) trek sure came with its many challenges but it’s an experience I wouldn’t trade for the world.
When it comes to embarking on such an arduous adventure, having reliable insurance is essential, and Etiqa Insurance Pte Ltd, winner of the Most Popular Travel Insurance Company at the TripZilla Excellence Awards 2024, offers exactly that. Known for its comprehensive and trustworthy coverage, Etiqa Insurance ensures that travellers are well-protected throughout their journey. Their policies, which include medical evacuation and coverage for unexpected delays, are designed with adventurers in mind. Whether you’re trekking to the highest peaks or exploring the remotest corners of the world, Etiqa’s travel insurance provides the peace of mind you need to focus on the adventure, not the “what-ifs.”
If you’re intending on going on the EBC adventure, here are some tips and tricks to prepare yourself for the exciting journey.
Kathmandu to Lukla
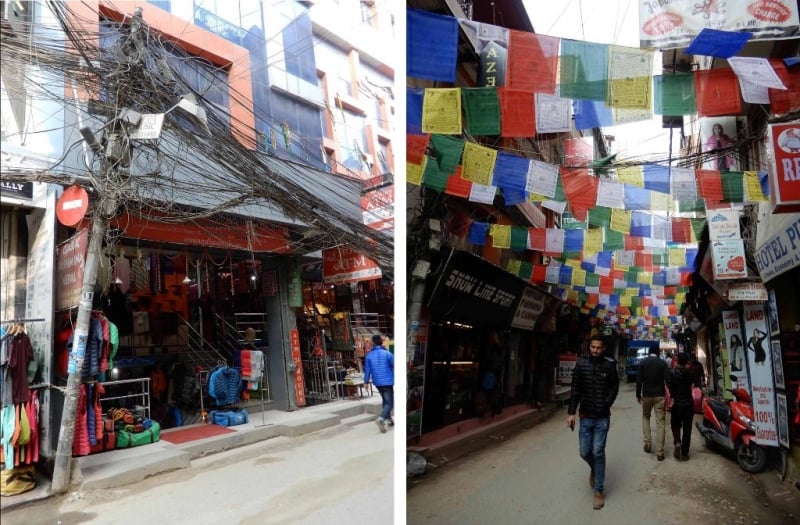
Kathmandu, Nepal is a rustic town with a beautiful riot of sights, sounds, and smells. Take a day or two to walk around the town to get some last-minute items you might have missed out on while packing. The town is every trekker’s haven equipped with essential trekking gear and apparel you would need should you happen to forget anything. Have extra cash on hand, as items might be pricier considering the prices are aimed at foreigners and tourists.
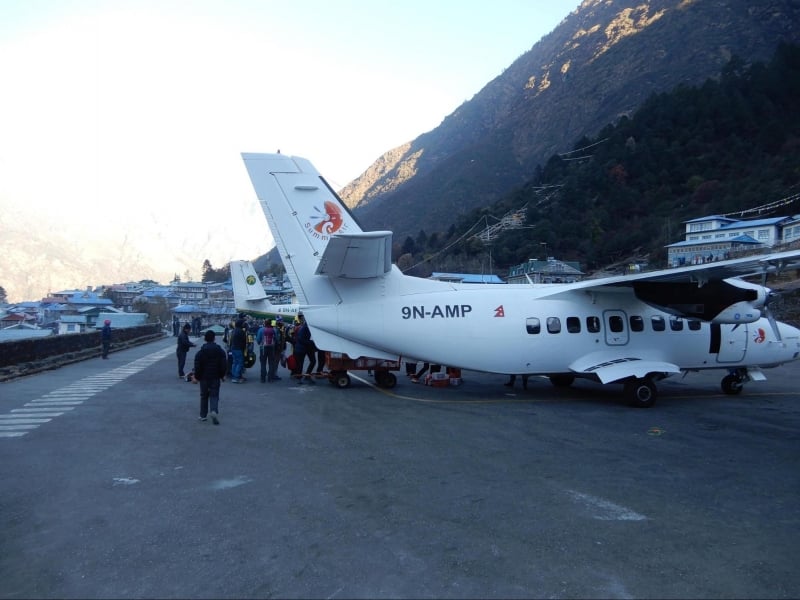
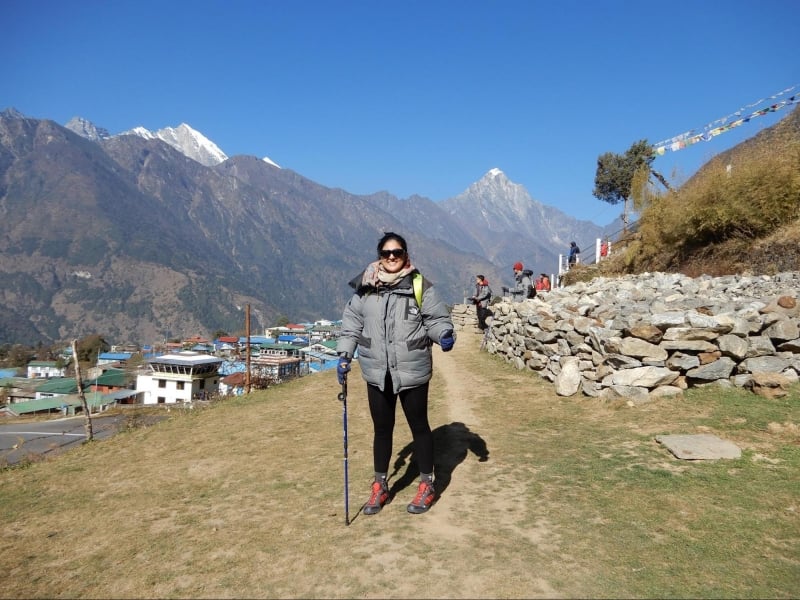
Always book your flight from Kathmandu to Lukla in advance because seats are limited. Insurance definitely comes in handy here because it isn’t guaranteed that your flight will take off on time. It all depends on weather conditions and cloud cover. We were fortunate enough to have a bright, sunny yet cold day when departing from Kathmandu. Upon arrival in Lukla, we met with the porters who’d very diligently care for and transport the bags for the rest of the journey.
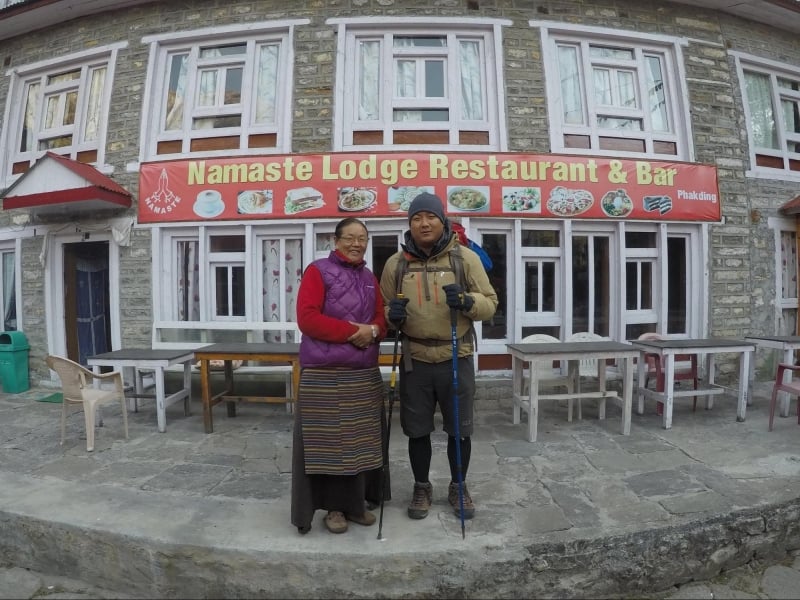
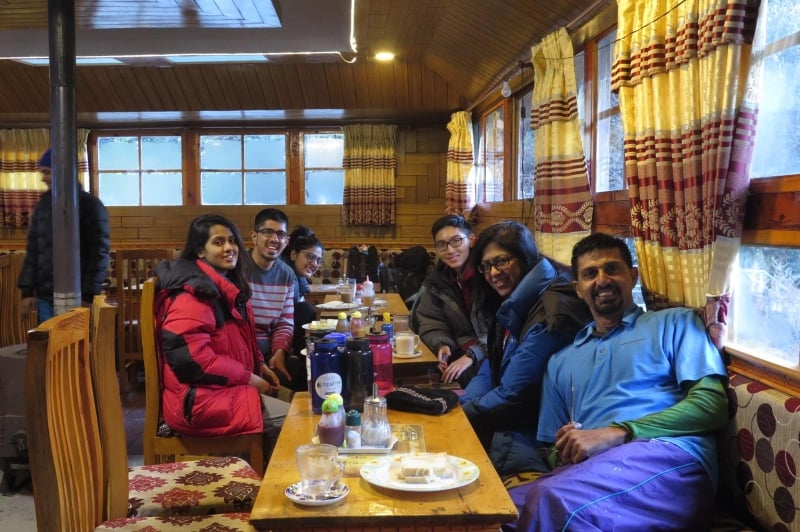
I must say that the Nepalese lodge owners are the most hospitable people I’ve ever met. They treat you like one of their own and make you feel as comfortable as possible. We began the journey as strangers but left feeling like one big family. I highly recommend a stay at the Namaste Lodge for the perfect homestay.
Also read: 10 Underrated Cities to Visit in South Asia
Lukla to Phakding
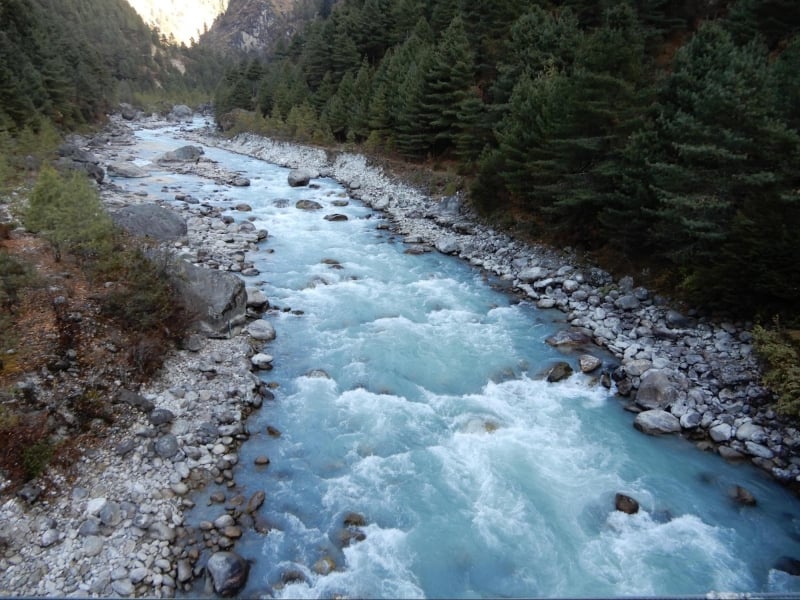
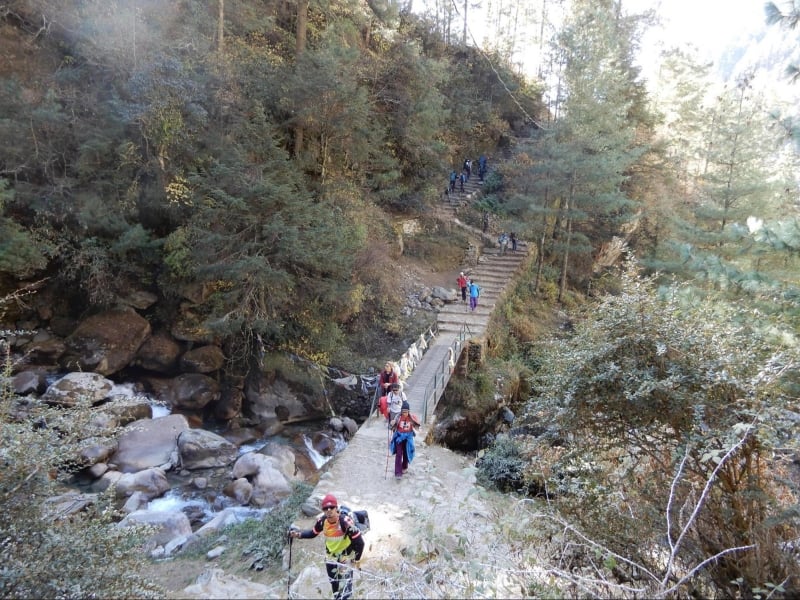
Awash with beautiful scenery, it’s easy to forget the ordeal that lies ahead. The breathtaking view of crystal clear blue waters diverts attention away from your tiredness. Take your time getting to Phakding. It’s a rather easy-going trail with picture-perfect moments creating perfect opportunities for a little five-minute break.
Phakding to Namche Bazaar
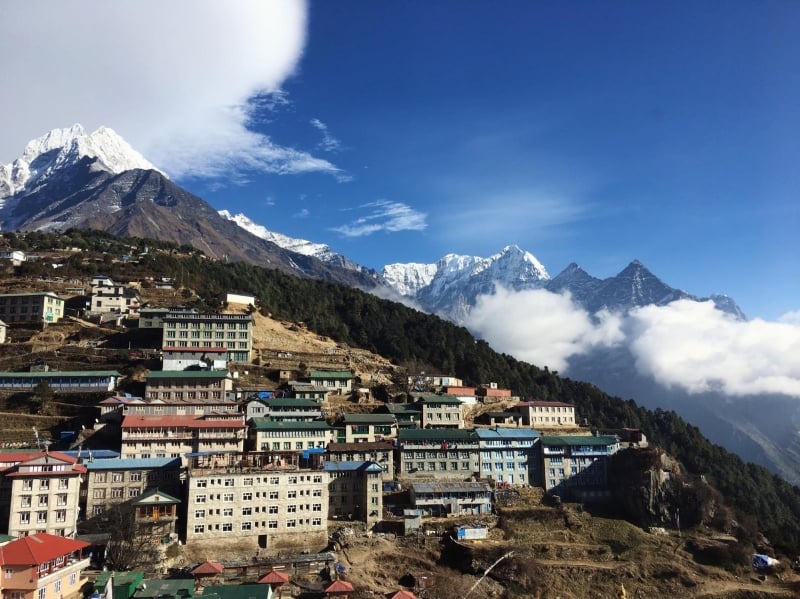
This was quite possibly the toughest leg of the journey. There was a 15.8km trek ahead of us, which took a total of eight hours to complete. We staggered our way through the four hours of incline with uneven steps, where a single misstep could lead to a really long way down the side of a cliff. We even had to stop to make way for donkeys and yaks passing through. It was challenging, especially for my parents who’d require a little more time making up the steps but the view upon reaching the top was worth it. I’d recommend spending two days in Namche to acclimatize before making your way up.
Namche Bazaar to Tengboche
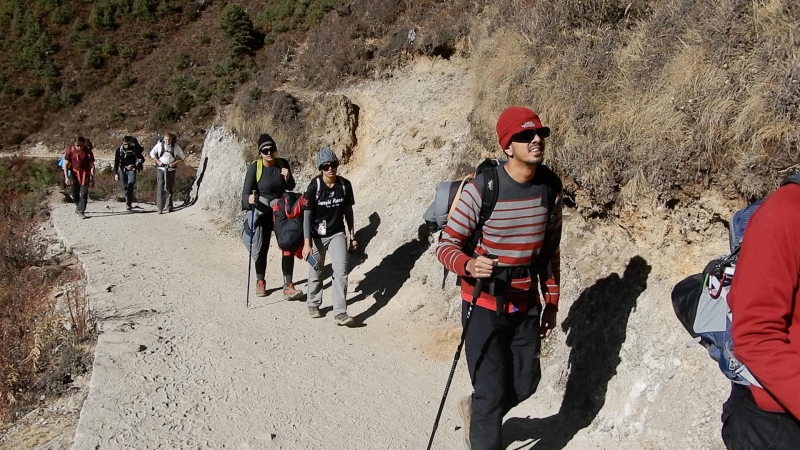
Here, we made a 427-metre incline which probably doesn’t seem as bad as it sounds, but when you throw in the cold temperature and the gradual decline of oxygen levels, it did prove a tough but fun challenge. We were now a pack of five as my mother found the trek too challenging and made the right call to stay.
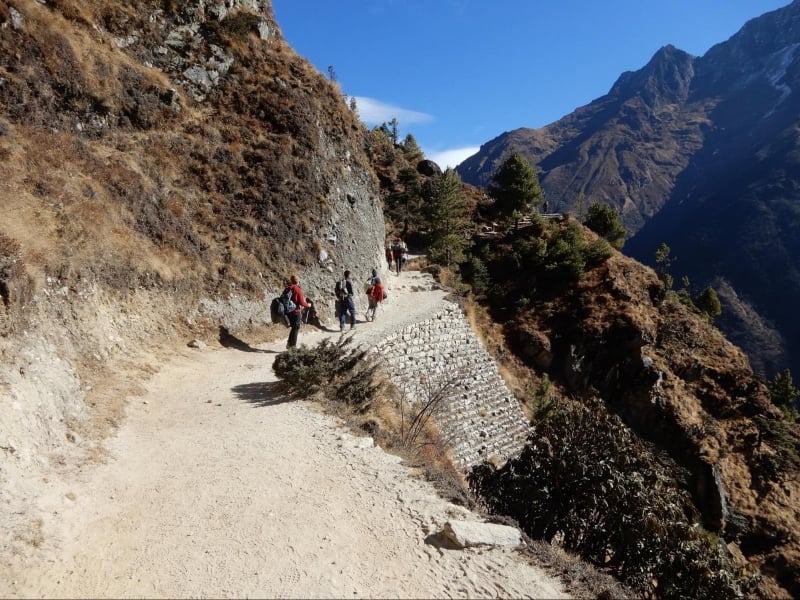
The journey was relatively flat for the most part and here, you’ll be tempted to make up for lost time by rushing through to the finishing point. Perhaps you could if you deem yourself fit enough but do remember to hydrate every 20 minutes or so to prevent feeling dizzy along the way.
Tengboche to Deboche
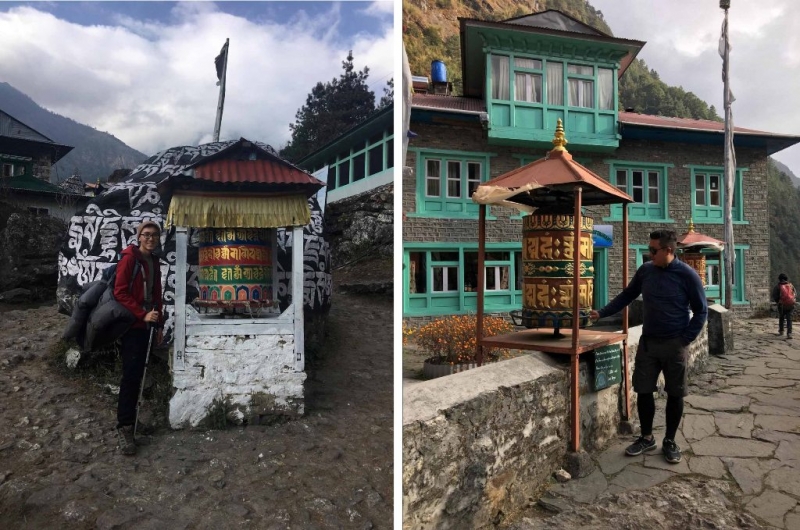
Nepalese people are very spiritual and religious and they believe in the safety of their people and travellers alike. You will come across prayer wheels at every leg of the journey. The exteriors are carved with the sacred Om Mani Padme Hum. Turn the wheel once in a clockwise direction as it is equivalent to reciting the hymn, without actually having to chant the mantra.
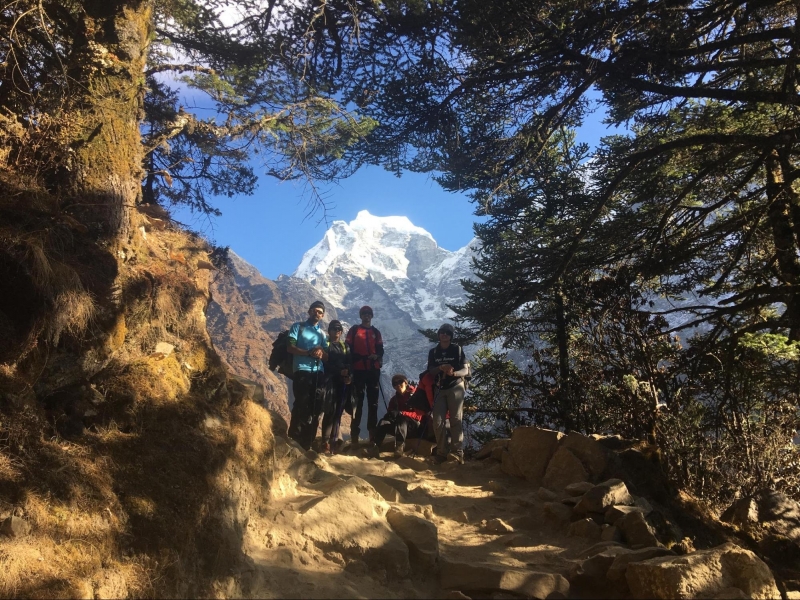
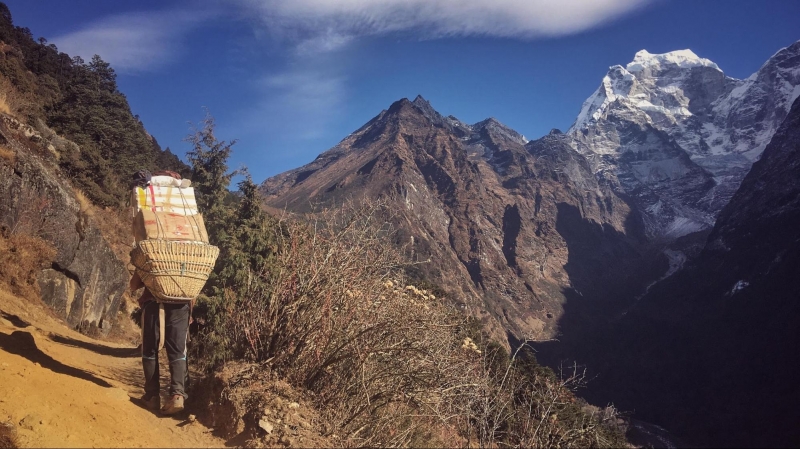
At Dingboche, we’ve reached a height of 4,260m but not without stopping to take beautiful pictures of the many stunning backdrops.
Deboche to Dingboche
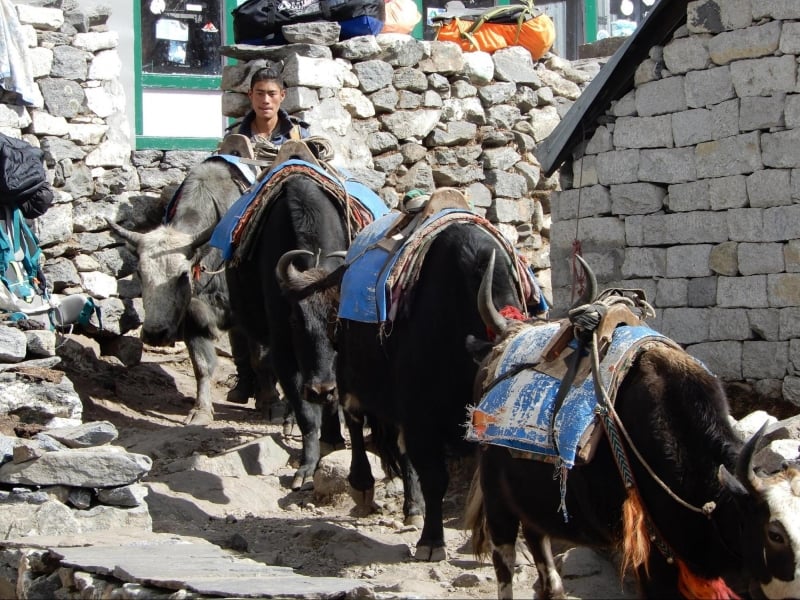
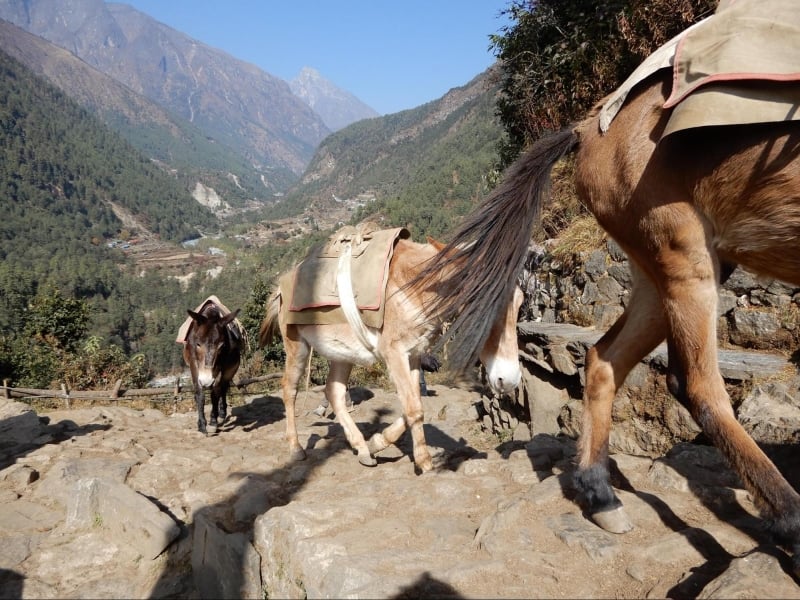
With each passing day, we noticed that the number of donkeys and yaks along the journey has increased and along with it, the number of items transported higher up in the mountains. These animals carry gas tanks and staple food to the people living in higher altitudes and sometimes they have to wait weeks before receiving their basic necessities. This meant that while you’re trekking, you sometimes have to stop and make way for 20 or more yaks to pass, led by their guides, before carrying on with your journey. It was fascinating to note that the donkeys are trained to avoid people, the yaks, however, barge past you and sometimes gently nudge you out of the way. My advice? Steer clear of their path!
Having reached the guesthouse in Dingboche, I found myself having lost my appetite and feeling rather dizzy. My jaw had started to ache but I couldn’t quite understand what I was experiencing. After spending one night in Dingboche, I had woken up to a swollen jaw, twice its original size and had difficulty even drinking water. A decision was then made to airlift me back to Kathmandu to seek medical treatment, of which I could not receive in the location I was at.
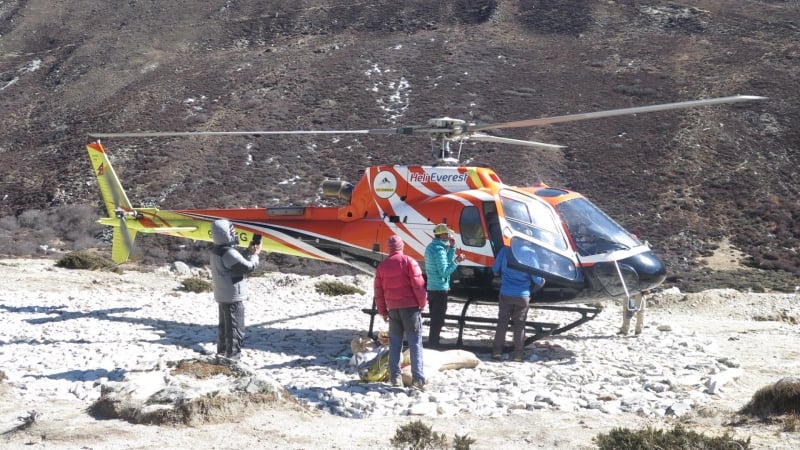
Here’s another tip, do ensure that your insurance covers helicopter evacuation as well because you never know when you might need it. Also, a good idea to know when to call it quits even though you’re so close to reaching base camp because, at the end of the day, your health and safety are of utmost priority.
Dingboche to Lobuche
The trek up to Lobuche which stood at 4390m above sea level clearly means that you have to go slow and steady. The landscapes provided a stunning backdrop for gorgeous photo opportunities.
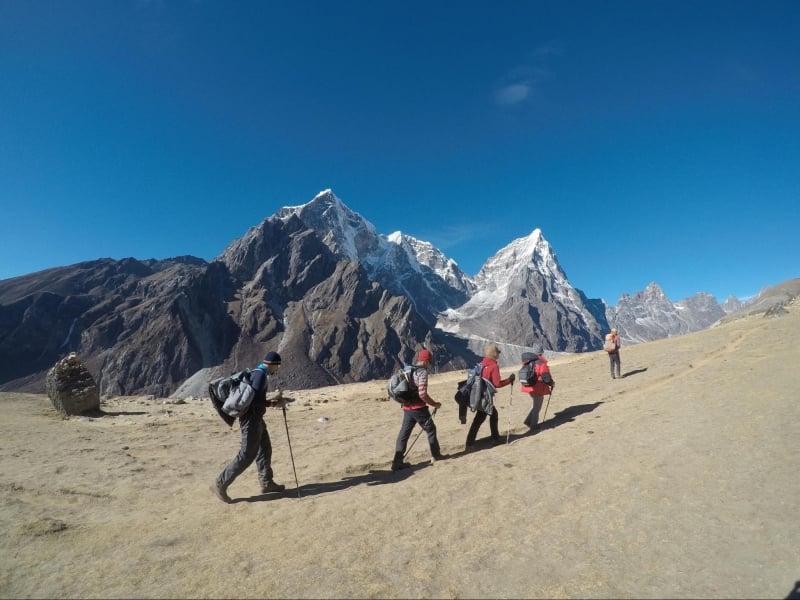
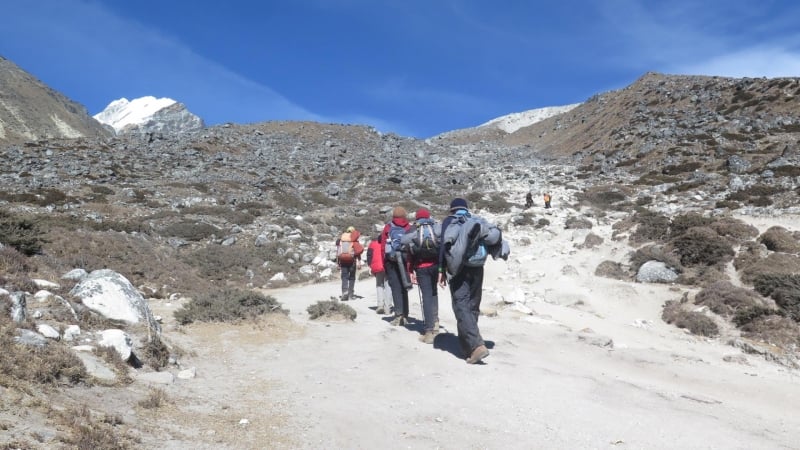
Once again, the journey proved a little too challenging and my sister had come down with the classic case of altitude sickness. She was then accompanied by my father back down to Kathmandu. At this point, the last two standing, along with the two amazing guides, made their way to the final checkpoint that is Kalapathar, the closest you will get to the magnificence that is Mount Everest.
Lobuche to Gorak Shep to Kalapathar
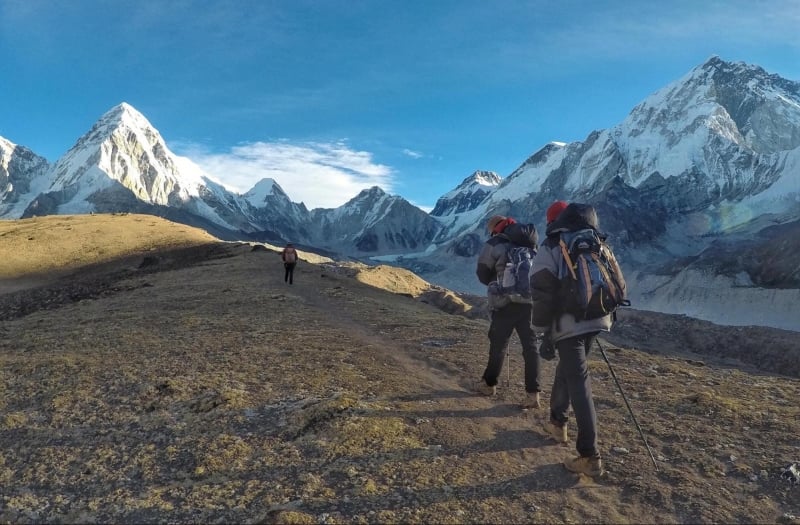
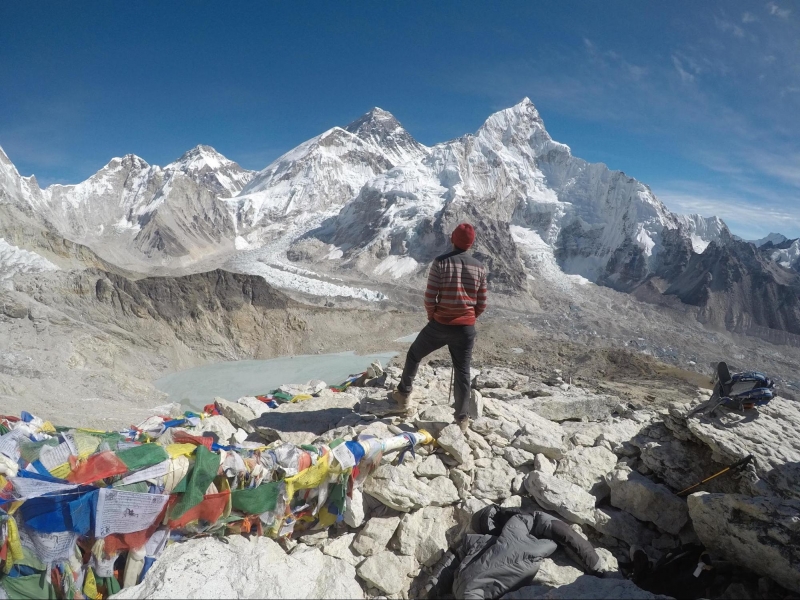
The wiser and safer option to get as close to Everest Base Camp would be to trek to Kalapathar. You also have a better view of Mount Everest from there. The lethargy from the last eight to nine days of the trek will begin to sink in. However, the thought of having reached the peak is enough to push you through to the very end. Once you get to the final checkpoint, it’s recommended that you stay there for no more than 10 minutes due to very low oxygen levels.
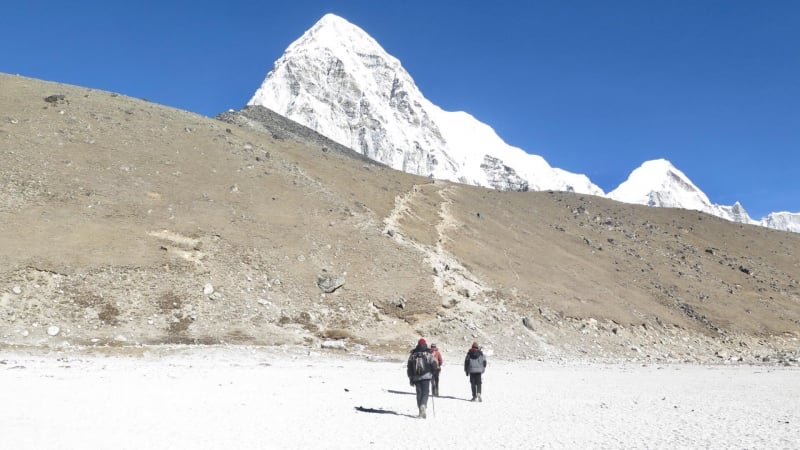
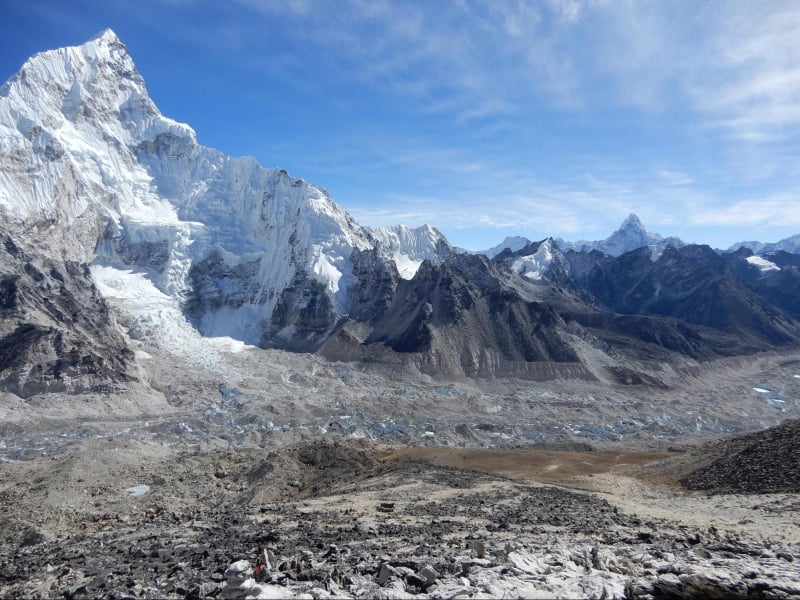
Once you’ve reached the end of the tunnel, not only is the view spectacular, but you leave knowing that despite the many obstacles, you gave it all you had. Having not made it to the very last checkpoint myself, I left knowing that I was brave enough to take on the Everest Base Camp trek — which was a challenge of its own. I felt so much pride and joy knowing my brother and cousin had made it to the top and that the rest of my family had embarked on this journey together, coming out stronger than ever before.
Also read: Nepali Mountaineer Sets Record for Climbing World’s 14 Tallest Mountains Twice
The amount of gratitude I have for the three guides that brought us from start to finish cannot be expressed in words. The porters who brought our bags up on foot through each leg of the journey, and who probably are somewhere up in the mountains as you read this, have my utmost respect and gratitude. I truly recommend the experience for brave hearts and for adventure seekers for it’s an experience you will never forget.
All images are credited to Yasmeen Munira.


