It all started when I was online, looking up mountains in the Philippines for my #BackpackingPhilippines trip in April 2016. Of all the mountains listed in the Philippines, Mt. Pulag caught my eye. I read somewhere that watching the sea of clouds at Mt. Pulag during sunrise is an exceptional experience.
Mt. Pulag (2,922 metres) is the highest mountain in Northern Luzon and the third highest mountain in the Philippines. As a backpacker, I am constantly researching about how to travel on my own in a DIY-style trip.
Hiking Mt. Pulag with a tour guide would normally cost ₱ 4,000 (RM 361) as a starting price. Upon further research, I found out that Mt. Pulag can be conquered without tour guide – and this is a much cheaper option.
So, that’s how it all started. I began my adventure in Baguio, a six-hour bus ride from Manila. I chose Ambangeg trail to reach the peak because of my limited time in the Philippines. Below are the travel expenses for the hiking trip starting from Manila. The prices listed are per pax and for a return trip.
| Bus from Victory Liner Pasay Terminal → Baguio Terminal | ₱ 900 |
| Taxi from Baguio Terminal Bus → A-Liner Terminal Van (Old Slaughterhouse) | ₱ 125 |
| Van from A-Liner Terminal → Bokod (DENR office, Mt. Pulag National Park) | ₱ 240 |
| DENR Office → Babadak Ranger Station | ₱ 250 |
| Entrance fees & camping (pay at DENR office) | ₱ 725 |
| Tent for 2 pax:₱ 500 (Pay at Babadak Ranger Station) | ₱ 250 |
| Environmental & Cultural fees (Pay at Babadak Ranger Station) | ₱ 80 |
| Guide: ₱ 800 per group | ₱ 400 |
Total : ₱ 2970 / RM 270
Two months prior to the trip, I made bookings through the phone to DENR (Department of Environment & Natural Resources) of Mount Pulag National Park to secure slots. The superintendent in charge is Mr. Roy (+639196315402). I informed him about the date of the climb and the number of people joining the trip. I also booked my tent from DENR.
Next up is the itinerary for those who wish to arrange a trip to Mt. Pulag on their own.
Day 1: Manila → Baguio
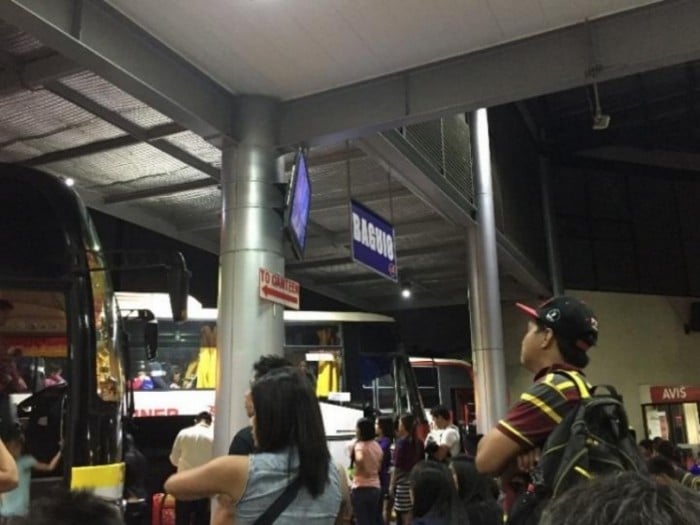 Pasay Terminal, Manila
The bus to Baguio departs from Victory Liner Terminal in Pasay city. As we planned to reach Baguio the next morning, we chose the bus departing at 11pm. Since the bus to Baguio departs on an hourly basis, 24/7, tickets can be bought at the counter. The journey took around six hours.
Day 2: Baguio → Bokod → Mt. Pulag National Park (DENR office) → Babadak Ranger Station
I arrived at Baguio Terminal at 5am. At 6.30am, I took a taxi to A-Liner Bus Terminal to reach the next destination which is Bokod. Bokod is the drop-off point for hikers who will be using Ambangeg trail to reach the peak.
It took us two hours to reach Bokod from A-liner Bus Terminal. You have to inform the van driver that you need to be dropped off at Mt. Pulag National Park. The van will drop you off at DENR junction.
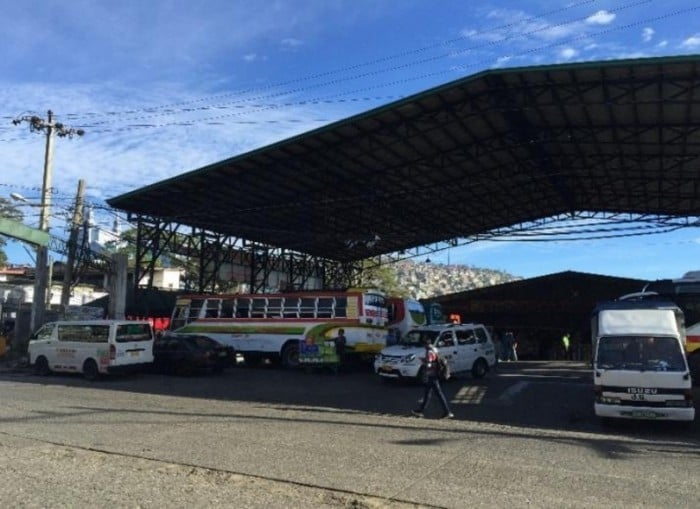
A-Liner Bus Terminal (Old Slaughter House), Baguio
The van stopped halfway for a toilet break. Just in time to fill up my empty stomach! After a two-hour bumpy ride, I finally arrived at DENR junction at 11am. From the DENR junction, hikers have to walk a bit to reach Mount Pulag National Park. There is a signage located on the road for hikers’ reference.
Once I arrived at the National Park, I was guided to fill up the registration form and confirm my booking. During the registration, I had to hand over a medical certificate from a doctor certifying that I was fit to climb. This is a sample of the medical certificate. At this point, I was instructed to pay entrance fees and camping fees. Once all that was done, I headed to the hall for a short briefing. A video clip was shown about Mt. Pulag and the do’s and don’ts during hiking.
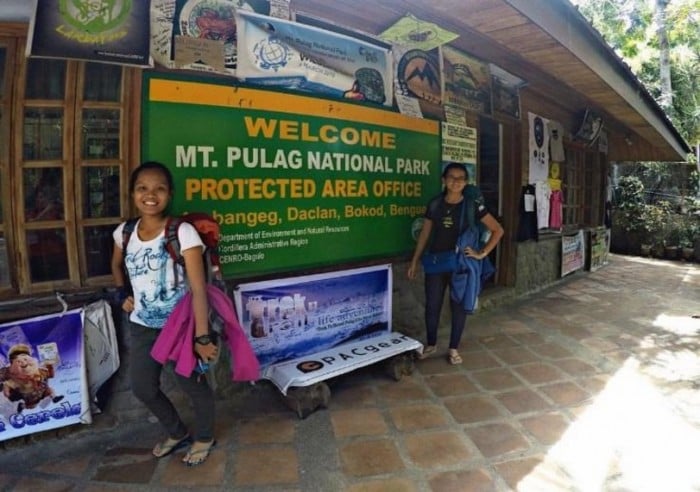
Registration and briefing session at Mt. Pulag National Park before hiking
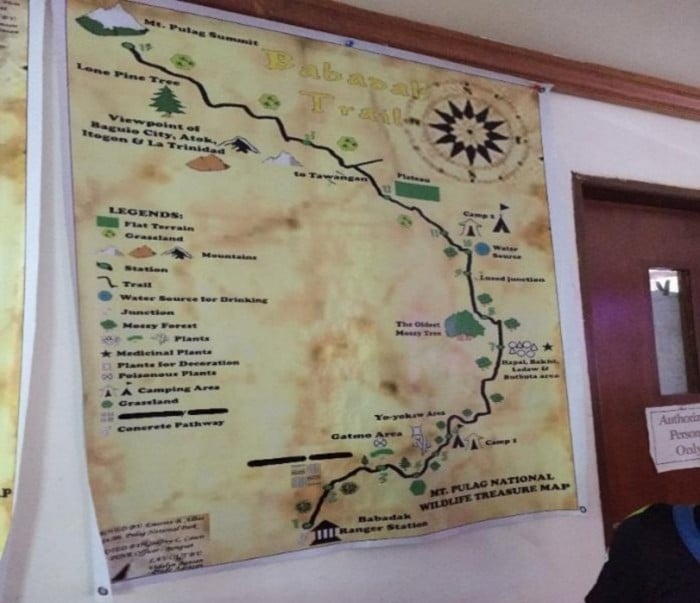
Mt. Pulag hiking trail
Eight kilometres from the National Park is Babadak Ranger Station, which is the starting point of the trek. The adventure continues and I rode a habal-habal (a kind of motorcycle in the Philippines) to Babadak. At Babadak, I paid for the tent and environmental fees. I also met my hiking guide, Felicia.
It was 12.30pm when our journey started. The sun was already high up in the sky, but the weather was fairly cold which is a good start for our climb. We would stop whenever possible to take photos. As you can see from photos below, the views changed gradually, from pine trees to mossy forest and lastly grassland as we approached the peak, which is Campsite 2.
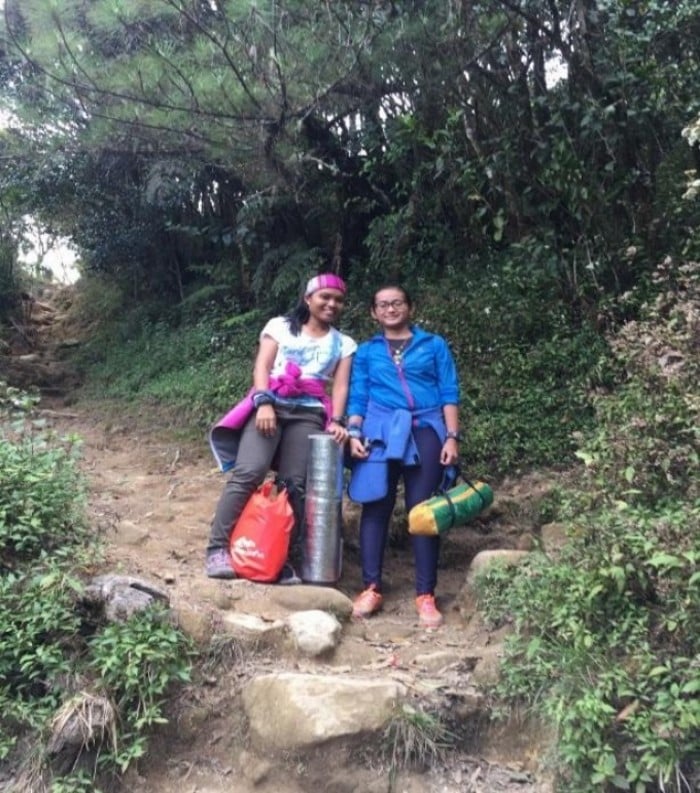
First stage of forest: pine trees area
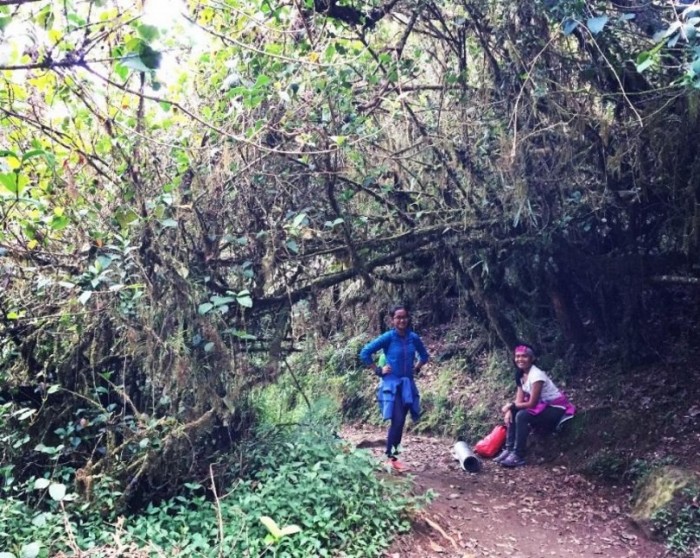
Second stage of forest: mossy forest
From Babadak Ranger Station, it takes approximately three hours to reach Campsite 2. Campsite 2 is where most hikers stay overnight before they continue climbing to catch the sunrise the next morning. The three-hour hike can be quite tiring for some people, thus it is recommended to travel light and bring only mandatory items. Any extra backpacks can be kept at the Ranger Station.
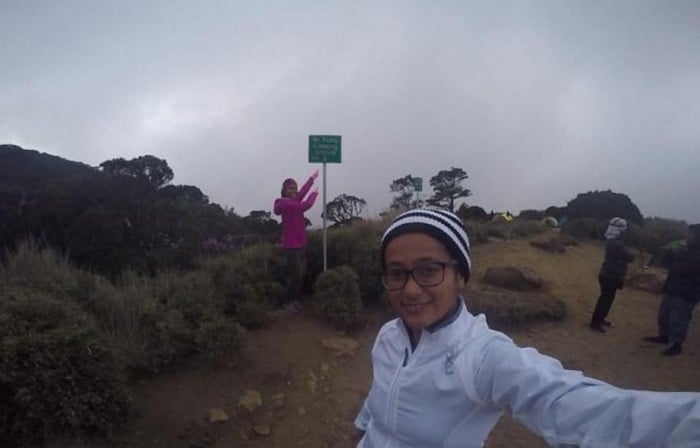
Stay overnight at Campsite 2
We arrived Campsite 2 at 3.30pm and quickly looked for a suitable place to set up the tent. By 5pm, the tent is set up and we are ready to rest for tomorrow’s ultimate goal – viewing the sea of clouds at sunrise.
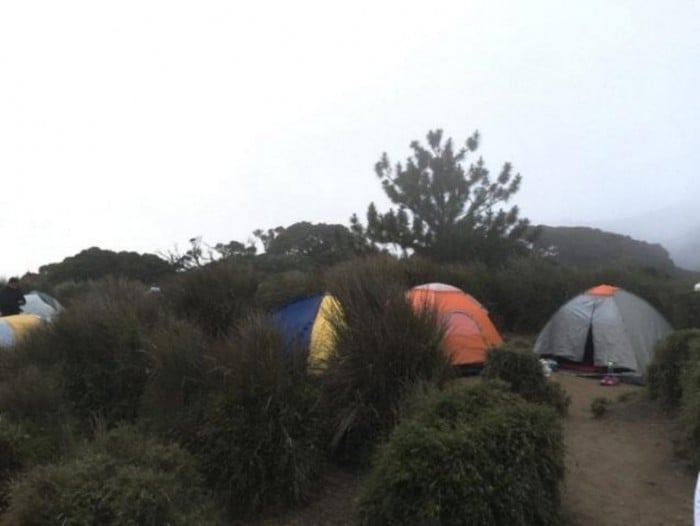
Tents at Campsite 2
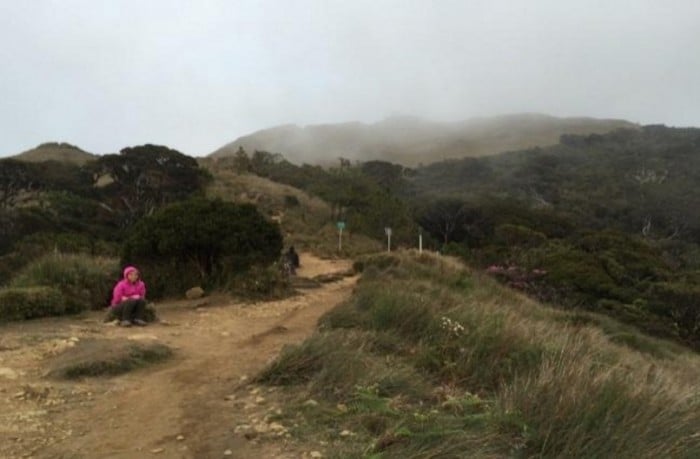
Cloudy and very cold
Day 3: Sea of clouds & sunrise at the peak
We woke up at 3.30am and continued our hike at 4am. All I could remember from the trekking is the windy weather and the total darkness. It was very cold and we were out of breath. We could only walk slowly since it was getting difficult to breathe. Finally, Felicia said softly, “it’s over there,” and pointed to the peak.
We could see light from the headlamps of other trekkers in front of us. We walked fast, gasping for air. We were just in time for the sunrise and we caught a glimpse of the sea of clouds at the peak. We reached the peak at 5.10am. We stood there in silence, mesmerised by the view. The peak slowly began to fill up with trekkers eager to find the best spots to snap photos of sunrise.
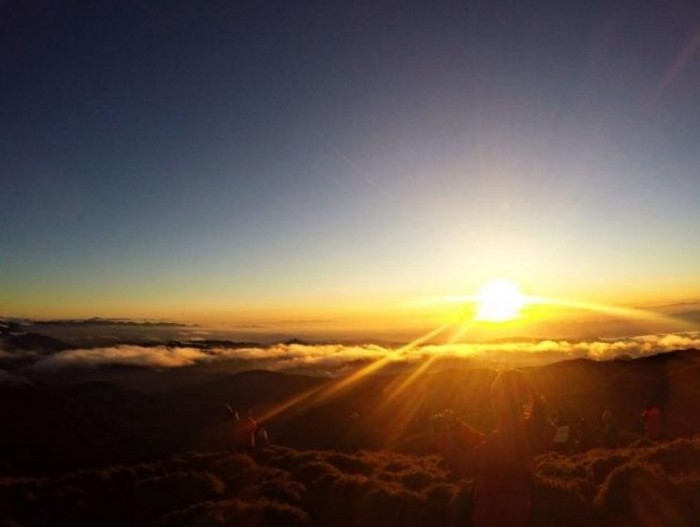
Sunrise and sea of clouds
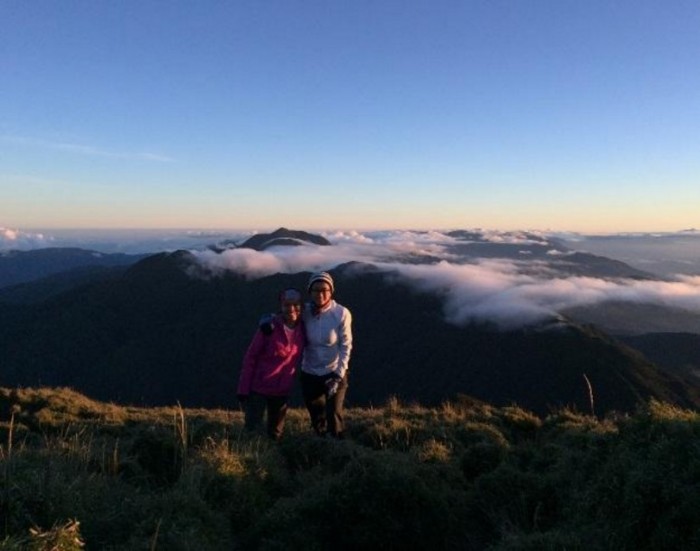
The views!
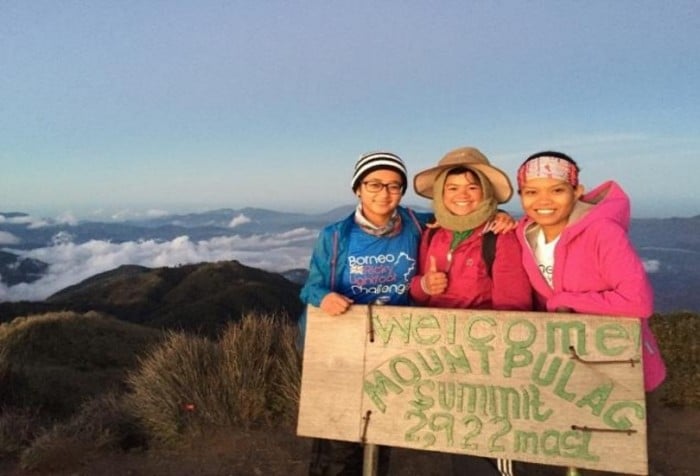
With our lovable local guide, Felicia
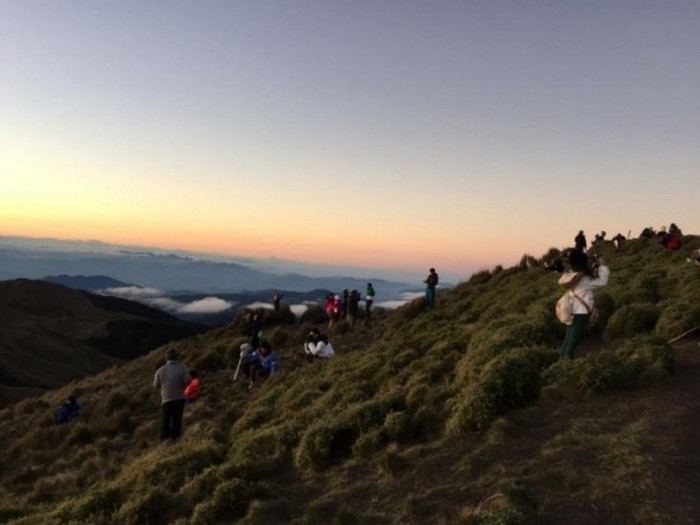
People busy snapping photos
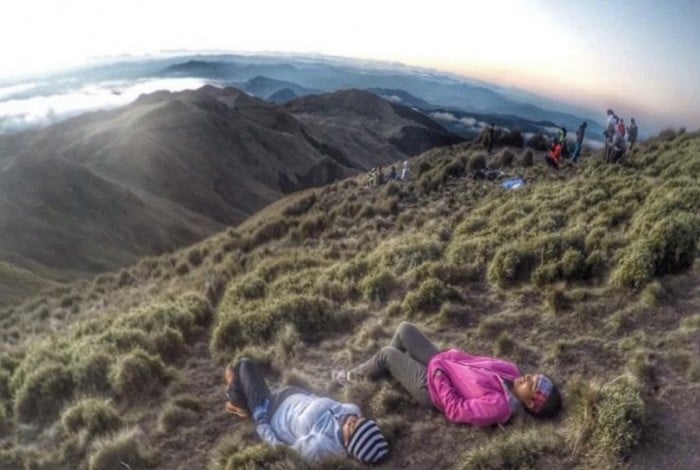
Taking our own sweet time
At 6am, we headed down to the campsite and started packing as we were to go back to Manila on that day. The whole trip was indeed challenging yet rewarding. I had never thought that the view of the sunrise and beautiful sea of clouds could bring so much happiness and pure joy to the heart.
Also read: Mount Pulag: On Climbing Luzon’s Highest Peak
What to bring for this hiking trip:
- Hiking shoes
- Tent
- Jackets
- Headlamp
- Gloves
- Emergency blanket
- Cookware (optional)
- Socks


