I dreamed of travelling from Singapore to Europe on a modest budget and without taking a plane. First of all, yes, it is entirely possible to travel overland from Singapore all the way to Europe!
The initial idea for my ‘big trip’ trip wasn’t all that ambitious – it was simply to complete the Trans-Mongolian Railway, which is one of the three routes for the Trans-Siberian Railway. It is probably the most interesting route too, starting in Beijing and running across Mongolia before continuing west towards Moscow. The Trans-Siberian Railway, as you may already know, is the longest rail journey in the world. The classic route starts from one end of Russia to the other, connecting Moscow and Vladivostok, and the full journey takes about a week or so.
In recent years, with the resurgence of interest in slow travel and sustainable tourism, overland routes like these are more appealing than ever. After further research, I found it fairly easy to get from Singapore to Beijing, the start of the Trans-Mongolian Railway, by land. I realised that an overland journey from Singapore to Europe wasn’t just a dream—it was entirely within my reach!
The route and cost
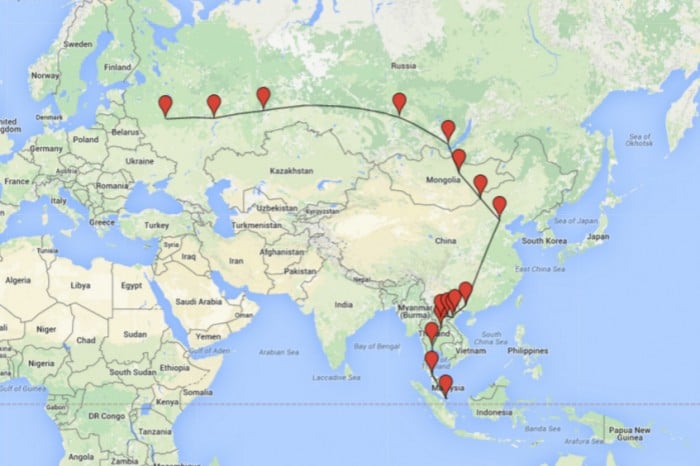
There are several ways to get from Singapore to Europe overland, and the path I took was the most clear-cut, well-trodden one. This is the sequence of countries I traversed:
Singapore – Malaysia – Thailand – Laos – Vietnam – China – Mongolia – Russia
One of the most useful websites I relied on to plan my journey was Seat61, which provides heaps of information about train rides around the world.
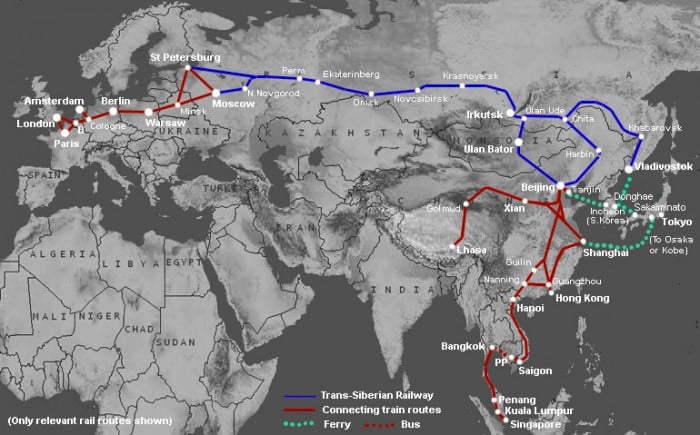
This is their map of how to get from Singapore to London by train. My route overlaps with this one greatly (the red and blue lines), with the exception of the Bangkok to Hanoi section (more on that later). I ended my trip in Moscow, which I must insist is technically in Europe. It’s easy to get deeper into Europe from Moscow, but I decided to fly to Iran instead for my next leg of adventure.
This is a more accurate map of my route:
I broke down my “Singapore to Europe” journey to three sections – Southeast Asia, China/Mongolia and Russia – and set aside a budget for it.
In total, I spent about S$3000 for 7 weeks of travel.
Highlights of the trip
Before I get into the technicalities of the trip, let me share with you some of the amazing experiences I had along the way. Writing this brings back a bucketload of incredible memories. I’ll never forget…
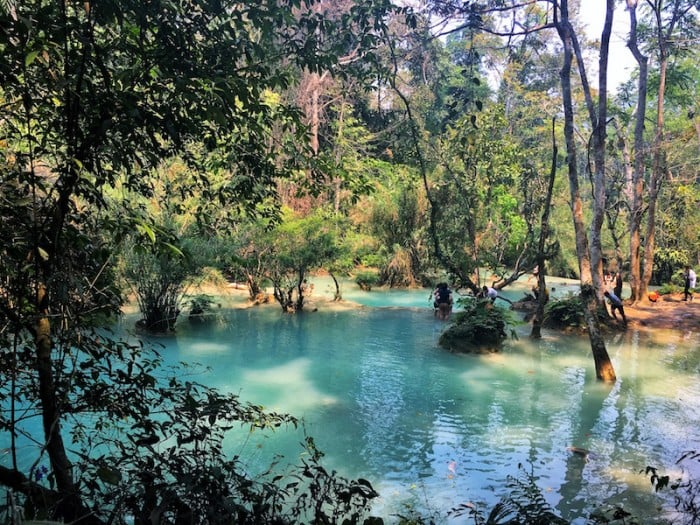
Swimming in the gorgeous Kuang Si Waterfalls in Laos
The scale and magnificence of the Great Wall of China
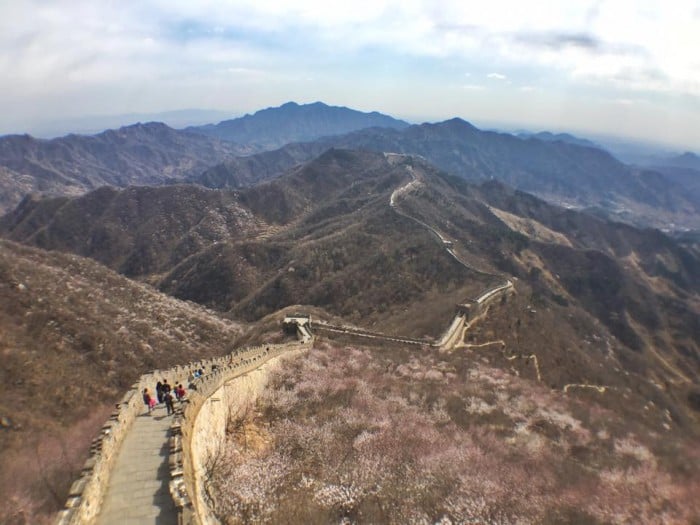
Catching my first cherry blossoms in Beijing

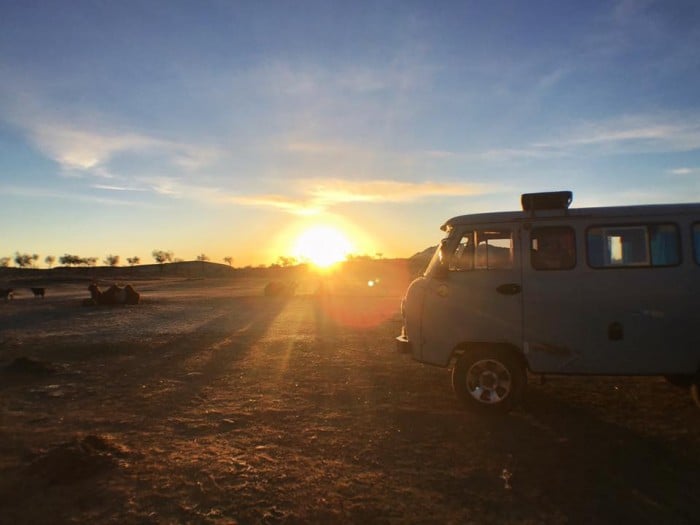
My road-trip through the vast open landscapes in Mongolia
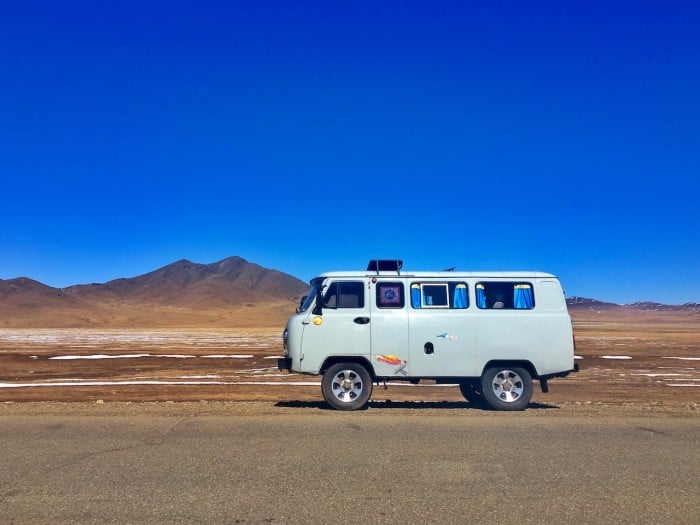
Where I witnessed sunsets like these
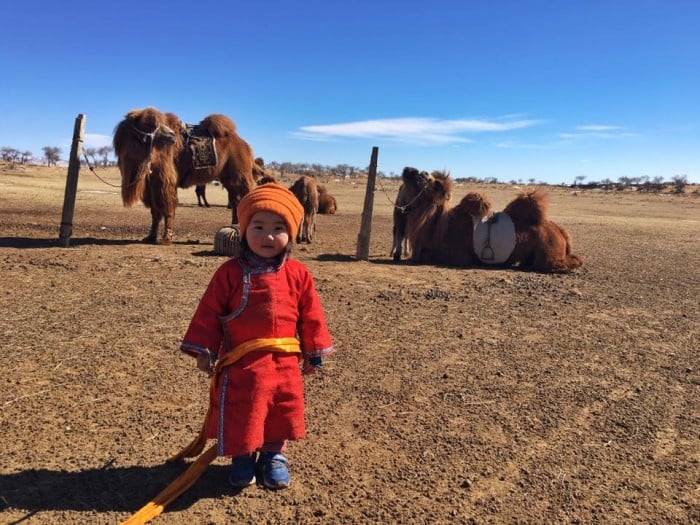
This beer-guzzling nomadic baby
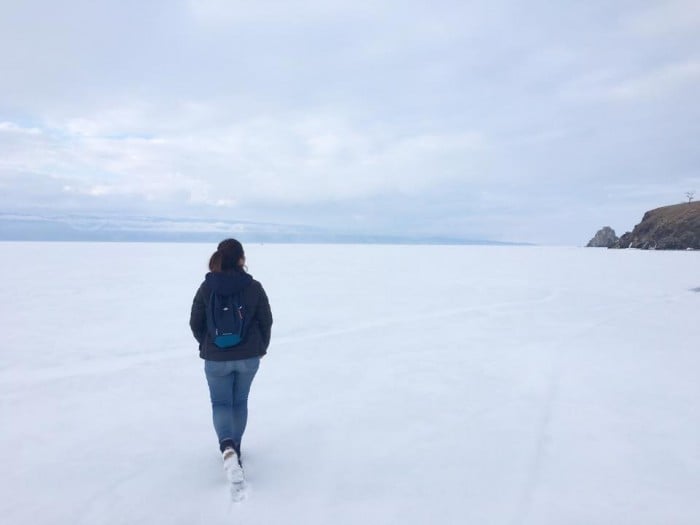
Walking on a frozen Lake Baikal in Russia
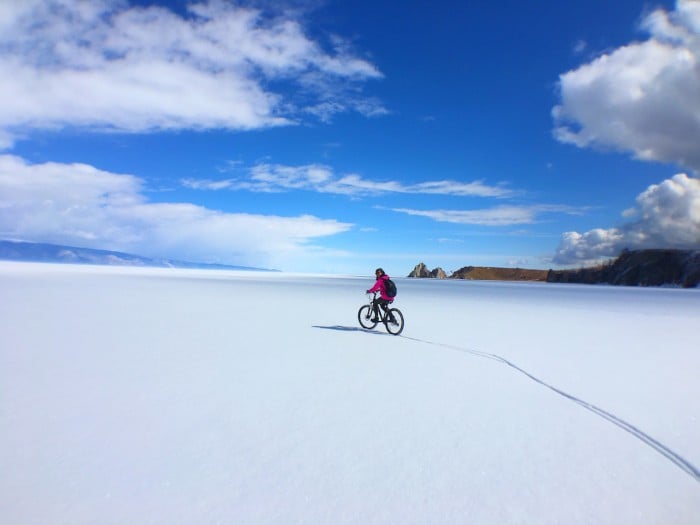
Cycling on a frozen Lake Baikal in Russia
Having a picnic on a frozen Lake Baikal in Russia
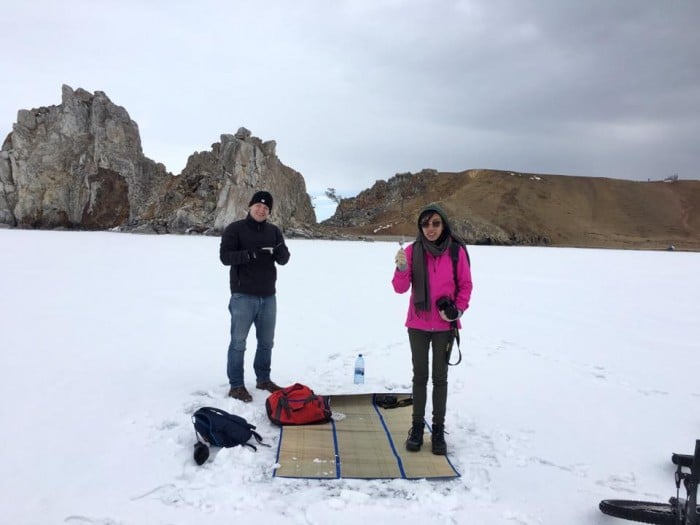
Yes, I did as many things as I could on the frozen Lake Baikal, which is by the way the largest freshwater lake in the world.
The seemingly endless train rides and changing sceneries
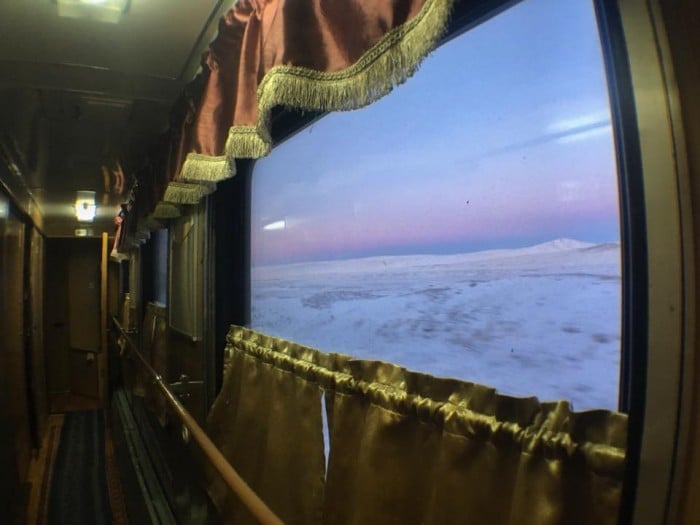
And of course, all the people I met along the way – new friends and kind strangers alike.
Without further ado, let me present to you the budget breakdown for travelling overland from Singapore to Moscow. To clarify, this budget of S$3000 for 7 weeks includes transport, accommodation, food and miscellaneous expenses. However, I will only list out the transport, accommodation and other significant costs below as these items are most helpful to those planning to undertake a similar journey.
1. Southeast Asia
Duration: Two weeks
Total spent: S$800
I wasn’t doing Southeast Asia much justice by giving it two weeks. It was pretty much a quick hello and goodbye to all the stops, and my poor excuse was that I wanted to spend more time in Mongolia and Russia. If you’re taking a similar route and it’s the first time you’re experiencing Southeast Asia, I highly recommend taking it slow, unlike me.
Breakdown of route and transport cost
- Singapore to Hat Yai
Tebrau Shuttle from Woodlands to Johor Bahru: S$6
Train from Johor Bahru to Hat Yai: S$26.50
- Hat Yai to Bangkok
Train: THB 845 (S$33)
- Bangkok to Vientiane
Train from Bangkok to Nong Khai: THB 758 (S$30)
Shuttle train from Nong Khai to Thanaleng: THB 20 (S$1)
Minibus from Thanaleng to Central Vientiane: THB 100 (S$4)
- Vientiane to Luang Prabang
Sleeper bus: LAK 180,000 (S$31)
- Luang Prabang to Sam Neua (day trip to Vieng Xai)
Bus from Luang Prabang to Sam Neua: LAK 190,000 (S$32.50)
Shared songthaew from Sam Neua to Vieng Xai: LAK 70,000 (S$12)
- Sam Neua to Thanh Hoa
Bus: LAK 180,000 (S$31)
- Thanh Hoa to Hanoi
Train: VND 116,000 (S$7)
- Hanoi to Nanning (China)
Bus: VND 500,000 (S$30.50)
I travelled from Singapore to Thailand through Malaysia, and then across Laos to Vietnam. Instead of cutting through Laos by bus to get to Hanoi (Vietnam), you can also take a longer route by going from Thailand down to Cambodia, and then up the length of Vietnam by train.
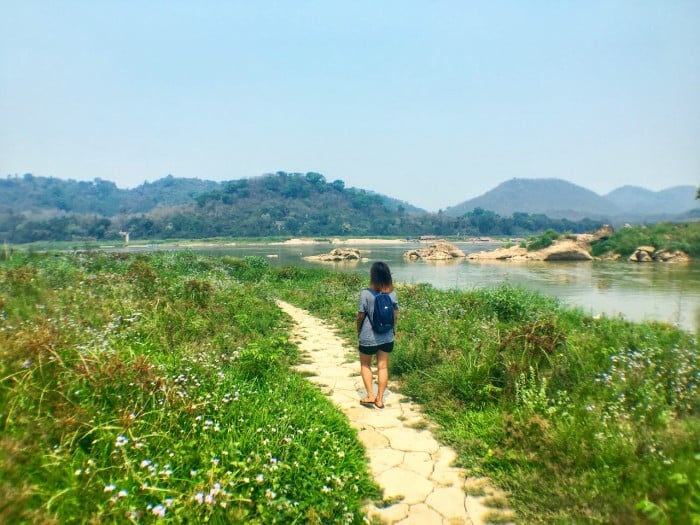
No regrets about my route though; I thoroughly enjoyed Laos!
Also read: 20 Tips for Travelling Around Southeast Asia
Breakdown of accommodation cost (per night)
- Hat Yai Youth Hostel, Hat Yai: THB 250 (S$10)
- The Hostel Sixteen, Bangkok: THB 275 (S$11)
- Lucky Backpackers Hostel, Vientiane: LAK 40,000 (S$7)
- Lane Xang Guesthouse, Luang Prabang: LAK 70,000 (S$12)
- Bounhome Guesthouse, Sam Neua: LAK 70,000 (S$12)
- Xinh Minh Tay Hotel, Thanh Hoa: VND 200,000 (S$12.50)
- Little Diamond Hotel, Hanoi: VND 126,000 (S$8)
- May De Ville Backpackers Hostel, Hanoi: VND 75,000 (S$4.50)
Other significant costs
- Thai massage in Healthland Spa plus tip, Bangkok: THB 650 (S$25.50)
Psst, watch your budget in Bangkok.
2. China and Mongolia
Duration: Two weeks
Total spent: S$1200
There were two things that I was looking forward to in this leg of my journey: the Great Wall of China and the desert landscapes of Mongolia. Both were stunning beyond words.
Breakdown of route and transport cost
- Nanning to Beijing
Soft sleeper train: CNY 751 (S$158)
- Beijing to Zamiin Uud
Bus: CNY 220 (S$46.50)
- Zamiin Uud to Ulaanbaatar
Train: MNT 33,950 (S$22.50)
- Ulaanbaatar to irkutsk (Russia)
Train: MNT 130,000 (S$85.50)
There is a direct train from Hanoi to Beijing which I opted not to take as it is expensive and runs only twice a week. It is cheaper to travel from Hanoi to Nanning by bus and continue to Beijing by train. However, get ready for the madness in Nanning train station and save yourself by looking for the English-speaking counter (which I spotted after walking around in confusion for what felt like hours).
From Beijing, it is technically the start of the Trans-Mongolian Railway. I really wanted to take the train straight to Ulaanbaatar, but surprise surprise, it is so much cheaper to take the bus to Erlian, cross the border to Zamiin Uud, and continue by train to Ulaanbaatar. The bus from Beijing to Erlian departs from Muxiyuan Bus Station, and it continues to Zamiin Uud after a 12-hour stop in Erlian. If you don’t mind the wait, ask for the bus straight to Zamiin Uud instead of Erlian.
From Zamiin Uud, I finally began my epic train journey through Mongolia and Russia.
Breakdown of accommodation cost (per night)
- Unknown hotel, Nanning: CNY 80 (S$17)
- Beijing Downtown Backpackers, Beijing: CNY 50 (S$10.50)
- Sunpath Mongolia, Ulaanbaatar: MNT 13,800 (S$9)
Other significant costs
- Day tour to the Great Wall of China: CNY 280 (S$59)
- Four-day Central Mongolia tour with Sunpath Mongolia: MNT 574,000 (S$378)
3. Russia
Duration: Three weeks
Total Spent: S$1000
“What the ^#>! is in Russia?!!!!”
That was me before this trip.
I always thought of Russia as a massive scary place (with drunk drivers on the roads and wife-beating men on the streets – sorry for the stereotype). So I did the one thing I could do to ease my anxiety, which is to come prepared. Armed with a few useful Russian phrases like “vi gavarite po angliski” (do you speak English?) and “ya ne panimayu” (I do not understand), I took on Russia. It went exceptionally well. Yes, indeed, Russians do not smile much, but they warm up almost instantaneously when you ask for help. Especially when you’re a harmless-looking Asian girl who tries to speak a little Russian.
Another thing I love about Russia is the stunning landscapes, especially on Olkhon Island. I arrived in spring, and the weather was simply perfect – chilly enough to experience Siberia as I imagined it to be (a winter wonderland) but not excruciatingly cold. Oh, and Lake Baikal was still frozen so I could walk and cycle on it.
Russia was also surprisingly affordable for travellers, mainly because of the weak currency. I only spent half of what I budgeted which was a pleasant surprise!
Route and transport breakdown
- Irkutsk to Olkhon island
Return-trip minibus: RUB 1800 (S$36)
Return-trip hovercraft for crossing frozen Lake Baikal: RUB 700 (S$14)
- Irkutsk to Krasnoyarsk
Train: RUB 1703.50 (S$34.50)
- Krasnoyarsk to Ekaterinburg
Train: RUB 2564.50 (S$51.50)
- Ekaterinburg to Kazan
Train: RUB 1277 (S$25.50)
- Kazan to Moscow
Train: RUB 1740 (S$29.50)
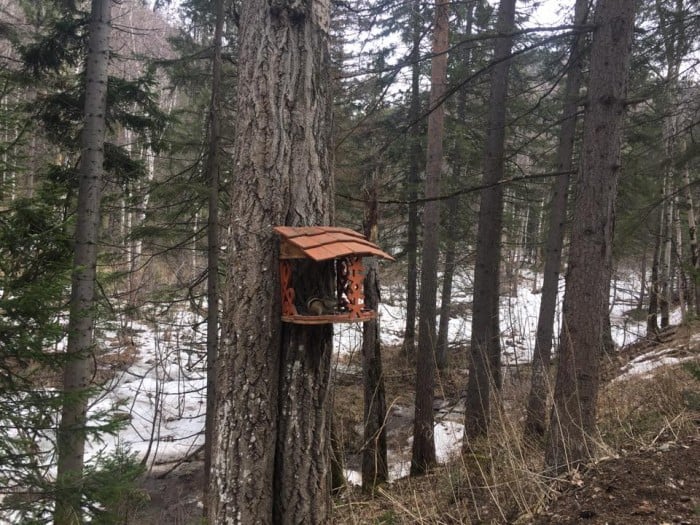
All the stops I made in Russia were pretty standard for those undertaking the Trans-Siberian Railway, except Krasnoyarsk which is often overlooked. I decided to stop in Krasnoyarsk for hiking in the very stunning Stolby National Park. The only regret I have about my route is not going to St. Petersburg, because many Russians and travellers I met told me that St. Petersburg is the best city in Russia, if not the world. An exaggeration? I will find out someday!
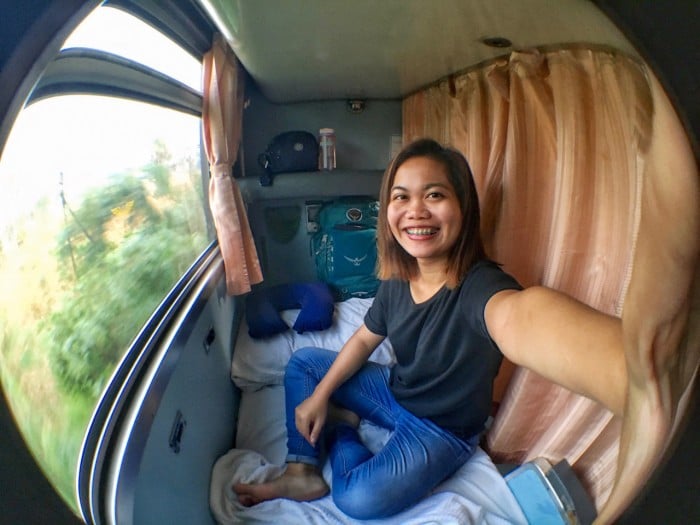
Most of the train rides I took were on platzkart (third class) carriages. I often get the question “Is taking the Trans-Siberian Railway expensive?” and the answer is that it can be pretty affordable, especially if you travel on platzkart. In a platzkart carriage, the whole wagon is open and not divided into compartments. In each section along the corridor, there are two upper and lower berth on one side, and another upper and lower berth along the window on the other side. In a kupe (second class) carriage, on the other hand, the carriage is divided into compartments with two upper and two lower berths each. I’ve travelled on both platzkart and kupe carriages, and I am happy to say that I prefer the cheaper platzkart option because it is more ‘open’ and hence social.
Accommodation cost breakdown (per night)
- Baikaler Hostel, Irkutsk: RUB 600 (S$12)
- Rural Hostel, Olkhon Island: RUB 1100 (S$22)
- Domino Hostel, Ekaterinburg: RUB 350 (S$7)
- Fasol Hostel. Moscow: RUB 900 (S$18)
There are two exceptional places I stayed in Russia: Rural Hostel (also known as Olga’s) on Olkhon Island, and also Fasol Hostel in Moscow. Olga, the lady running Rural Hostel, cooks the most DELICIOUS meals ever, and breakfast and dinner are included in the price of the hostel. Rural Hostel is the sister of Baikaler Hostel in Irkutsk, so you must stay in the latter to book your stay with Olga. Fasol Hostel in Moscow is just perfect – great atmosphere, beautiful interior, free tea/grains/toothbrush, comfortable beds, friendly staff… you’ll agree with me when you get there. In Krasnoyarsk and Kazan, I stayed with Couchsurfing hosts.
Other significant costs
- Invitation letter: S$68
- Tourist Visa: S$182 (express service, 4-5 days)
I applied for a Russian tourist visa in Singapore before my trip. It would normally cost S$149 for the normal service with a waiting time of 6-7 days but you’ll have to pay extra for a faster processing time.
Overall travel expenditure
Southeast Asia: S$800
Mongolia and Russia: S$1200
Russia: S$1000
Total: S$3000
Other information
Honestly, there’s just so much I can write about this trip, every aspect of it, and this is my attempt at giving you a summarised version.
Are overland journeys for you?
Okay, here’s the deal. If you don’t like the idea of spending hours after hours on the train, don’t do it. A little duh! but I’m just saying. I absolutely LOVE train rides and spending hours looking out the window, reading or sleeping, so it was perfect for me.
Be prepared to live on trains – eat, shit, sleep, you name it. Get ready for train delays, lousy seats, eating cup noodles, meeting weirdos on trains, and the dull monotony of doing absolutely nothing. There are upsides too, of course, like making new friends, astounding scenery, mind-blowing landscapes and exciting stops along the way!
Will travelling on a budget kill you?
S$3000 for 7 weeks is a pretty low budget, which is what compelled you to read this article in the first place. Here’s the good news: I didn’t hitchhike, I didn’t sleep on the streets, and I ate three meals a day. Some days I even splurged on a good meal.
But I always opt for the cheaper transportation option, stay in hostels (always pick one with good reviews) and I never try to see every single attraction in one city, especially when the entrance fees are costly.
The secret to keeping on a budget is really just self-control and good budgeting. Don’t buy what you don’t absolutely need, do FREE things at every destination and set aside a budget for the more expensive activities/attractions. I have an app called Trail Wallet on my phone and I use it to record all my travel expenses. It is a little hardcore but you can do that too.
Also, try Couchsurfing, not for free accommodation but for meeting locals, cultural exchange and getting insider information about your destination. I stayed with hosts twice during my journey, and I met up with countless more Couchsurfers to explore their city with them. Couchsurfing has changed the way I travel. Nowadays, I’m more interested in meeting people around the world and having good conversations with them rather than trying to visit all the tourist attractions.
Trust me, you can absolutely have fun anywhere without spending too much money.
If you’re averse to the idea of sharing a room with strangers or going the extra mile to save some dollars, then you can throw in extra money – maybe S$2000 more – and you’re good to go overland from Singapore to Europe pretty damn comfortably!
Advanced booking?
For this whole trip, I made no prior booking for transport and accommodation. I simply booked everything a day or two in advance or showed up at a hostel or bus/train station with no reservation. Doing this will grant you flexibility to change your travel plans. I highly recommend ditching advanced bookings if you are travelling beyond a few weeks.
For the Trans-Siberian Railway, if you are travelling during the peak season of July to September, advanced booking would be wise. I shall not go into detail about how to book your train tickets online, mainly because I didn’t use any of these websites, but basically, there are two options:
1. Through the official Russian Railways website, which will give you the best price.
2. Through a reputable third-party agency like Tutu Travel. There is a significant price mark-up but these websites are more user-friendly and you can get after-sales customer support.
If you are doing it off-season like me, you can simply show up at the railway station with your passport to buy your ticket. Write down the train number, date of travel, class of accommodation (kupe/platzkart) and very importantly, your wagon and seat number. Yes, do pick your bed. You don’t want to end up on an upper bunk if you can help it. To find out which beds are still available on the train, use any of the three websites I listed above.
What to pack?
Every traveller has different needs and levels of comfort, but if you’re an independent backpacker, don’t stress too much about what to pack. Less is more, and you can always buy what you need along the way. Just bring the basics: your passport, clothing, footwear, first aid, electronics, and other essentials, and you’re pretty much good to go. I also recommend extra socks and undies.
There are plenty of expensive and unnecessary travel accessories you will be tempted to buy before you embark on your big trip. Take my advice: don’t waste your money! If you lived without them before, chances are, you don’t need it when you travel. Of course, you can bring more than what you “need” for extra comfort.
Lastly, don’t pack more than you can carry. My personal preference is to pack light. I travelled with a 46L Osprey Kyte, which is fairly small by backpacking standards, and it was more than enough. (Eventually, I downsized to the 40L Osprey Farpoint and that was also sufficient.)
Endnotes
I’ve been told that my trip would be dangerous and that I was crazy to do this. Even my parents were reluctant to let me go, especially since I was travelling alone.
But along the way, people were dropping by to tell me they were inspired, and for that reason, I wrote this post to tell you how “simple” and “sane” this is. Honestly, a solo overland journey on a budget is not that scary or difficult.
Simply save up your money, plan the route, find the time, pack your bag and go! For any questions about this trip or to get connected, find me on Instagram (@dinamalyana).
Also read: 10 Useless Things You Should Stop Packing For Your Trip
